Gone Missing[]
Return to the Survivor Camp On the Beach[]
After you exit the tunnel, use the rope ascender to bust through the wall ahead. Jump onto the rope and use the rope ascender to reach the high cliff to the right.
Drop down and perform a stealth attack on the man nearby. Then whip out your rifle for the two armored guys on the next ledge. When they're taken out, use the camp.
Drop off the southeast side to a path below that has a GPS cache on it. Scramble back up and jump over to the next ledge. Use the zip lines to get back to the crew.
Storm Chaser[]
Start the Climb Up to the Research Base[]
Now that you have the rope ascender, you have access to a Challenge Tomb. Head to the northwest of the Survivor's base camp. Bust open the bunker and take the path to the left. If you would like to raid the tomb, click here.
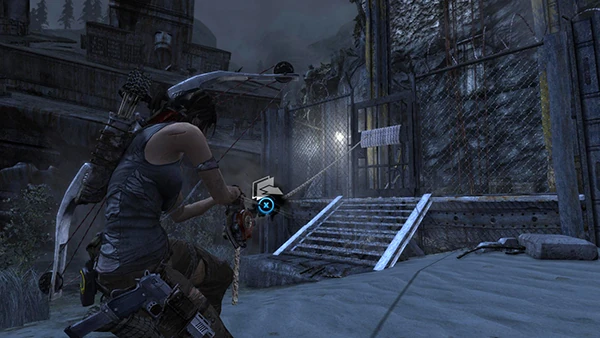
Exit the tomb and head over to the gate that's to the far right of the boat. Use the rope ascender to pull open the gate. Use your axe on the lever, but the elevator comes crashing down. Looks like you have to find another way. Scramble up the rock and onto the pipe.
Jump up to the craggy wall and attach your axe to it. Climb around the wall and then climb up onto the top of the rock. A salvage trunk is on the ledge to the left. Move around to the other side of the elevator shaft and scramble up the concrete wall. Jump to the top of the shaft to find a GPS cache. Drop down and fire a rope arrow towards the craggy wall ahead and climb over. When you reach the top of the rock, look between the water tower and gondola tower for the final GPS cache. The last document is sitting on a small table nearby. Then scramble up the wall and hop onto the water tower.
Navigate the ledges to reach the top and then hop to the ladder. Climb up, jump over to a pipe, and then move around to reach a gondola system.
Enter the Research Base[]
Use a rope arrow to pull a gondola over towards you and hop on. Repeat this on the second gondola and use the zip line to reach the bunker. Scramble up to the ledge and climb around. Jump left to the walkway. Quickly take cover behind a crate and observe the Solarii ahead. Take them both out with silent headshots.
Loot and scramble up the wall to another pipe. Shimmy left and leap over to the craggy wall. Scale the wall around the cliff and then create a rope bridge at the top to another craggy wall. Follow the wall to the left and climb up. Jump over to the ladder, climb up to the platform, and use a rope arrow to bust through the wall.
| ←Cliffside Bunker Walkthrough | Shipwreck Beach Walkthrough (Second Visit) | Research Base Walkthrough (TR2013)→ |
Tomb Raider 2013 Quick Guides
| |
|---|---|
|
Coastal Forest · Mountain Temple · Mountain Village · Base Approach · Mountain Base · Base Exterior · Shantytown · Geothermal Caverns · Summit Forest · Shipwreck Beach · Research Base · Chasm Shrine |
|