Cry For Help[]
Lara finds Roth holding off a wolf, but he's injured. One of the wolves took his pack with the transmitter in it for the radio. She helps Roth over to the area's first base camp.
Find Roth's Pack[]
Start by going into the water on the right. Search the base of the waterfall for a GPS cache.
Exit the water and use the flame to light your torch. Return to where you started and move straight ahead to find a statue. Use your torch to light the statue. This starts your first Challenge.
Scramble onto the shack to the southwest of the statue and look around in the back for a GPS cache. Hop onto the roof above the statue, over to a hanging crate, and then into the second floor of a building in shambles.
Move to the opposite corner of the room to find a relic. Climb up to another floor of the building and search the floor in the corner for a document.
Run up two flights of stairs and climb onto the railing straight ahead. Turn around and climb onto the roof. Turn right and use the board to cross to another section of the roof. Look down to find a nest of eggs. Steal the eggs to start a second Challenge.
From there, leap over to the cliff to the north to find a GPS cache. Drop down to a ledge and then drop onto the ground. Search near the stone markers in the corner for a GPS cache.
Follow this ledge along to the right and swing on the pole to reach the plane wreckage. Run through the body of the plane and jump inside another piece of the aircraft. Continue to the other side and then climb up the rocky tiers.
At the top, run along the outside of the plane you just ran through previously. It leans forward as you do, so make a big leap at the end and grab the ledge.
Climb up the few ledges and scramble to the top. The wolves' den is just ahead.
Bring the Transmitter to Roth[]
Lara will light her torch (if it isn't already) and proceed inside. Move to the back and Lara will pick up the radio.
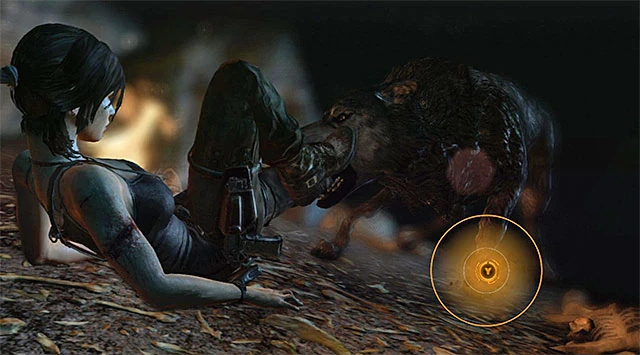
As you exit the cave, a wolf
jumps out and grabs Lara's leg. Wiggle the analog stick to free yourself and press the melee button to stab the wolf. Repeatedly tap the Action button and then press the melee button one last time.
Loot the wolf's body and go back outside. Return to the camp to patch up Roth. He gives Lara his climbing axe to climb the falls.
Reach the Top of the Falls[]
Use your new axe on the craggy wall ahead. Climb the wall around to the right and then up. Hop onto the wing of the plane and climb up the rocks again. This time, climb the wall on the right. When you reach a gap, press the analog stick to the left and then press Jump. Then press Action to reattach to the wall.
At the bridge, there is a Challenge Tomb. Hop into the water on the right and climb onto the wooden platform. A GPS cache sits in the doorway. Grab that and continue into the cave. if you want a walkthrough for the tomb, click here.
On the other side of the bridge ahead, climb yet another wall. Then leap towards the waterfall and attach your axe into the wall nearby. At the top, three Solarii soldiers are shouting across the water to each other.
Use your bow to kill the man on the right first, and then proceed to wipe out the two on the other side.
Enter the hut on the right and search the table for a document. Exit the structure to the east and use the wall to scramble onto the roof, where a GPS cache is located.
Jump off the roof to the northeast and scurry up to a platform. Light your torch and continue across the beam to the north. Light up the statue.
Turn to the west and jump onto the upper floor of another shack. Inside is a relic. Climb up the side of the structure and steal another set of eggs.
Drop back down to the ground and search the eastern corner of the shack to find a GPS cache. Return to the light on the platform to the far east side of the area and leap over to the craggy wall.
Climb up the rocky walls to reach a bridge above. Run across the bridge to the objective point. The bridge soon gets blown away, so jump as it does so. When you get close to the wall, use the climbing axe to hang on. At the top you hear from Reyes and Alex.
Find the Bunker[]
Use the zip line ahead to get closer to the base. Shoot at the Solarii who charge your way. Squeeze through the crack in the rocks to enter the next area.
| ←Mountain Temple Walkthrough | Mountain Village Walkthrough (First Visit) | Base Approach Walkthrough→ |
Tomb Raider 2013 Quick Guides
| |
|---|---|
|
Coastal Forest · Mountain Temple · Mountain Village · Base Approach · Mountain Base · Base Exterior · Shantytown · Geothermal Caverns · Summit Forest · Shipwreck Beach · Research Base · Chasm Shrine |
|