The Lost Tomb[]
Search for Ruins in the Cliffs[]
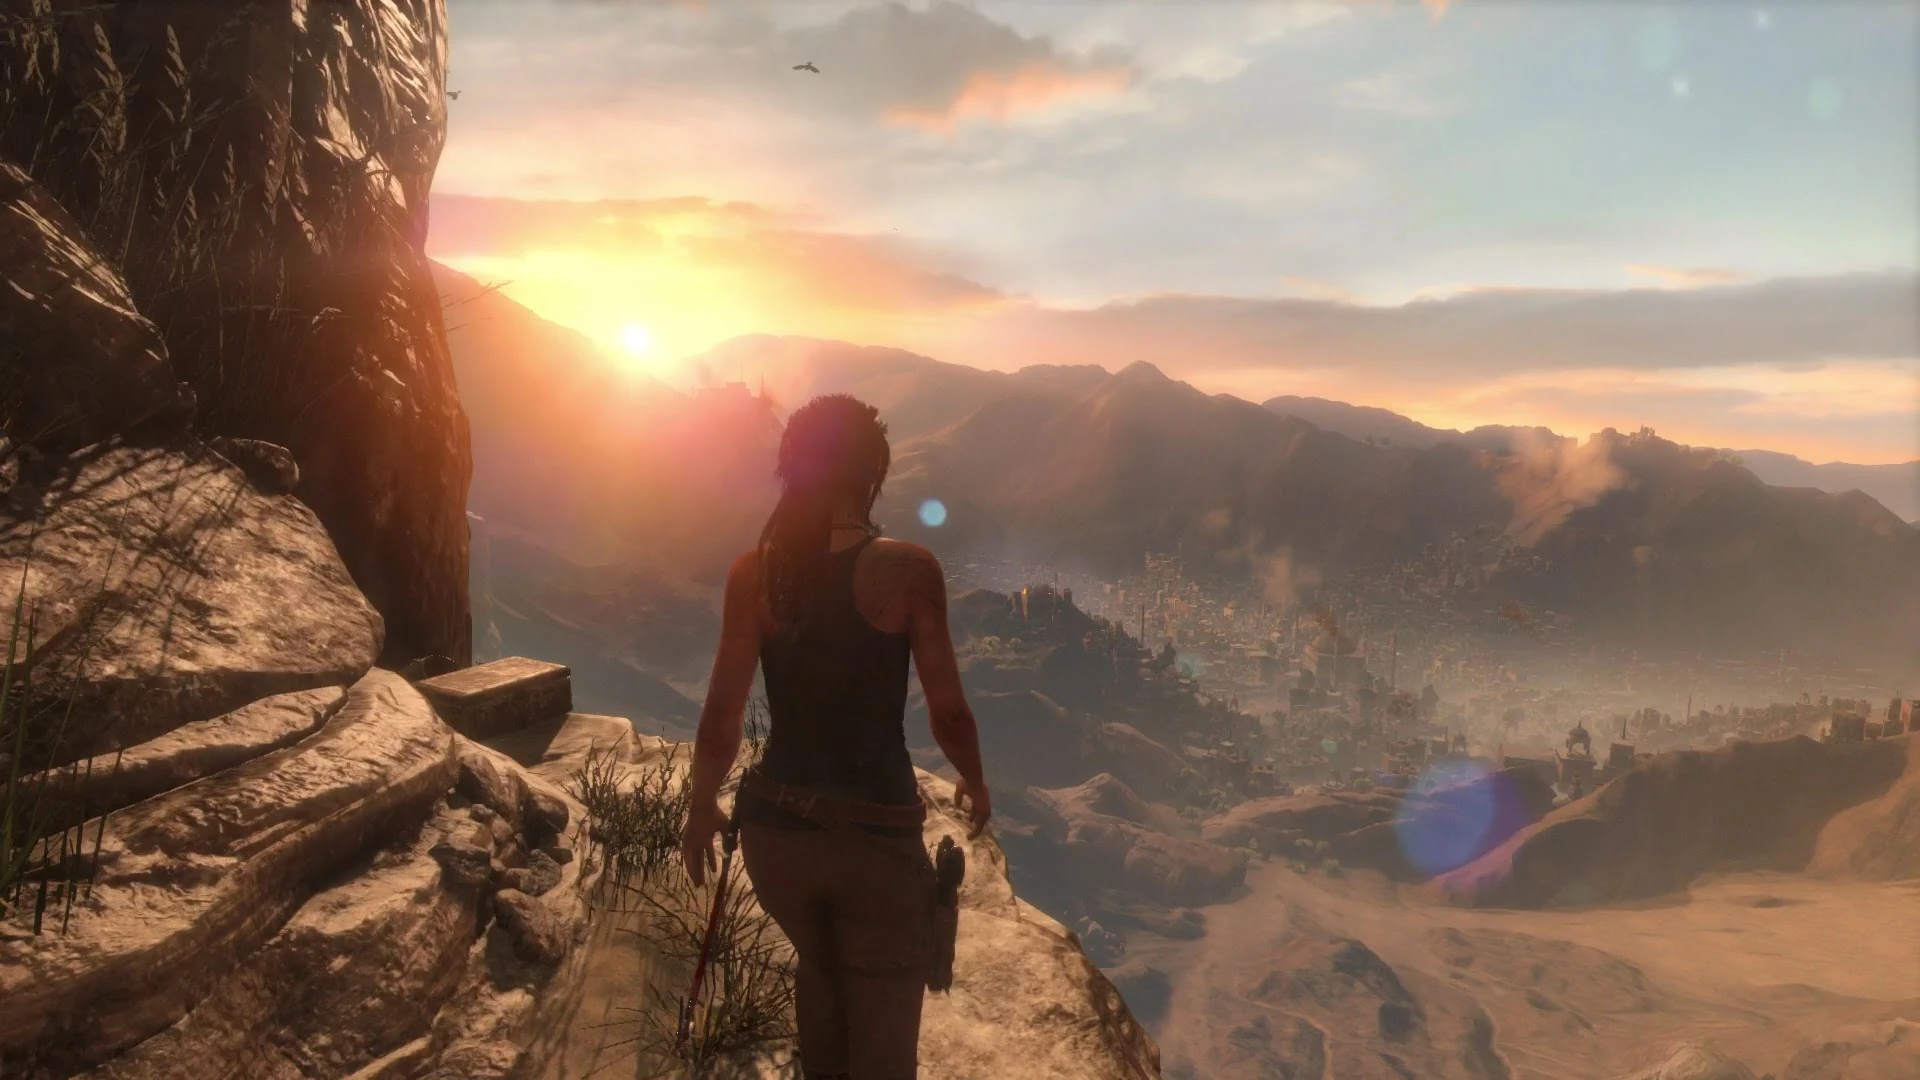
Lara was being driven on the Syrian border, but an accident happens. She finds herself on a rocky ledge. Start moving along the narrow path.
Lara has taken a heavy blow, so give her time for the vision on the screen to adjust to normal. There are no enemies around, so take your time.
Walk along the ledge and this path takes you to a rock wall. Jump up and use the handholds to climb upward. Ahead is a tiny entrance to a cave. But before going in, look around the ledge to the right to find a relic. Now go over to the opening and roll in. Walk a short distance to find a large chamber.
Explore The Chamber Of Murals[]
Search the chamber for many fascinating items. Search the outer walls of the room for four murals which will increase Lara's Greek translation skills. Look at the monolith after you've reached Level 1 Greek to reveal the locations of the coin caches in the area, and then look at the floor for one lone coin cache.
When you're done exploring, step into the tiny side room across from the hallway of where you first entered. Light is beaming through the cracked wall ahead, so press the Action button to interact with it. Lara smashes the wall open with her axe, revealing a brand new exit.
The Hidden Oasis[]
Find a Way Into the Prophet's Tomb[]
To get to the entrance, follow the path on the left and jump over the shallow gap. Approach the stone wall and jump towards it. Quickly press Jump again to scramble up the wall and grab the ledge above. Climb around the corner to the left and jump up to grab a higher handhold. Climb to the left then leap across the gap to another handhold. Scramble up the wall and hang onto another ledge. Climb up as a helicopter flies by overhead.
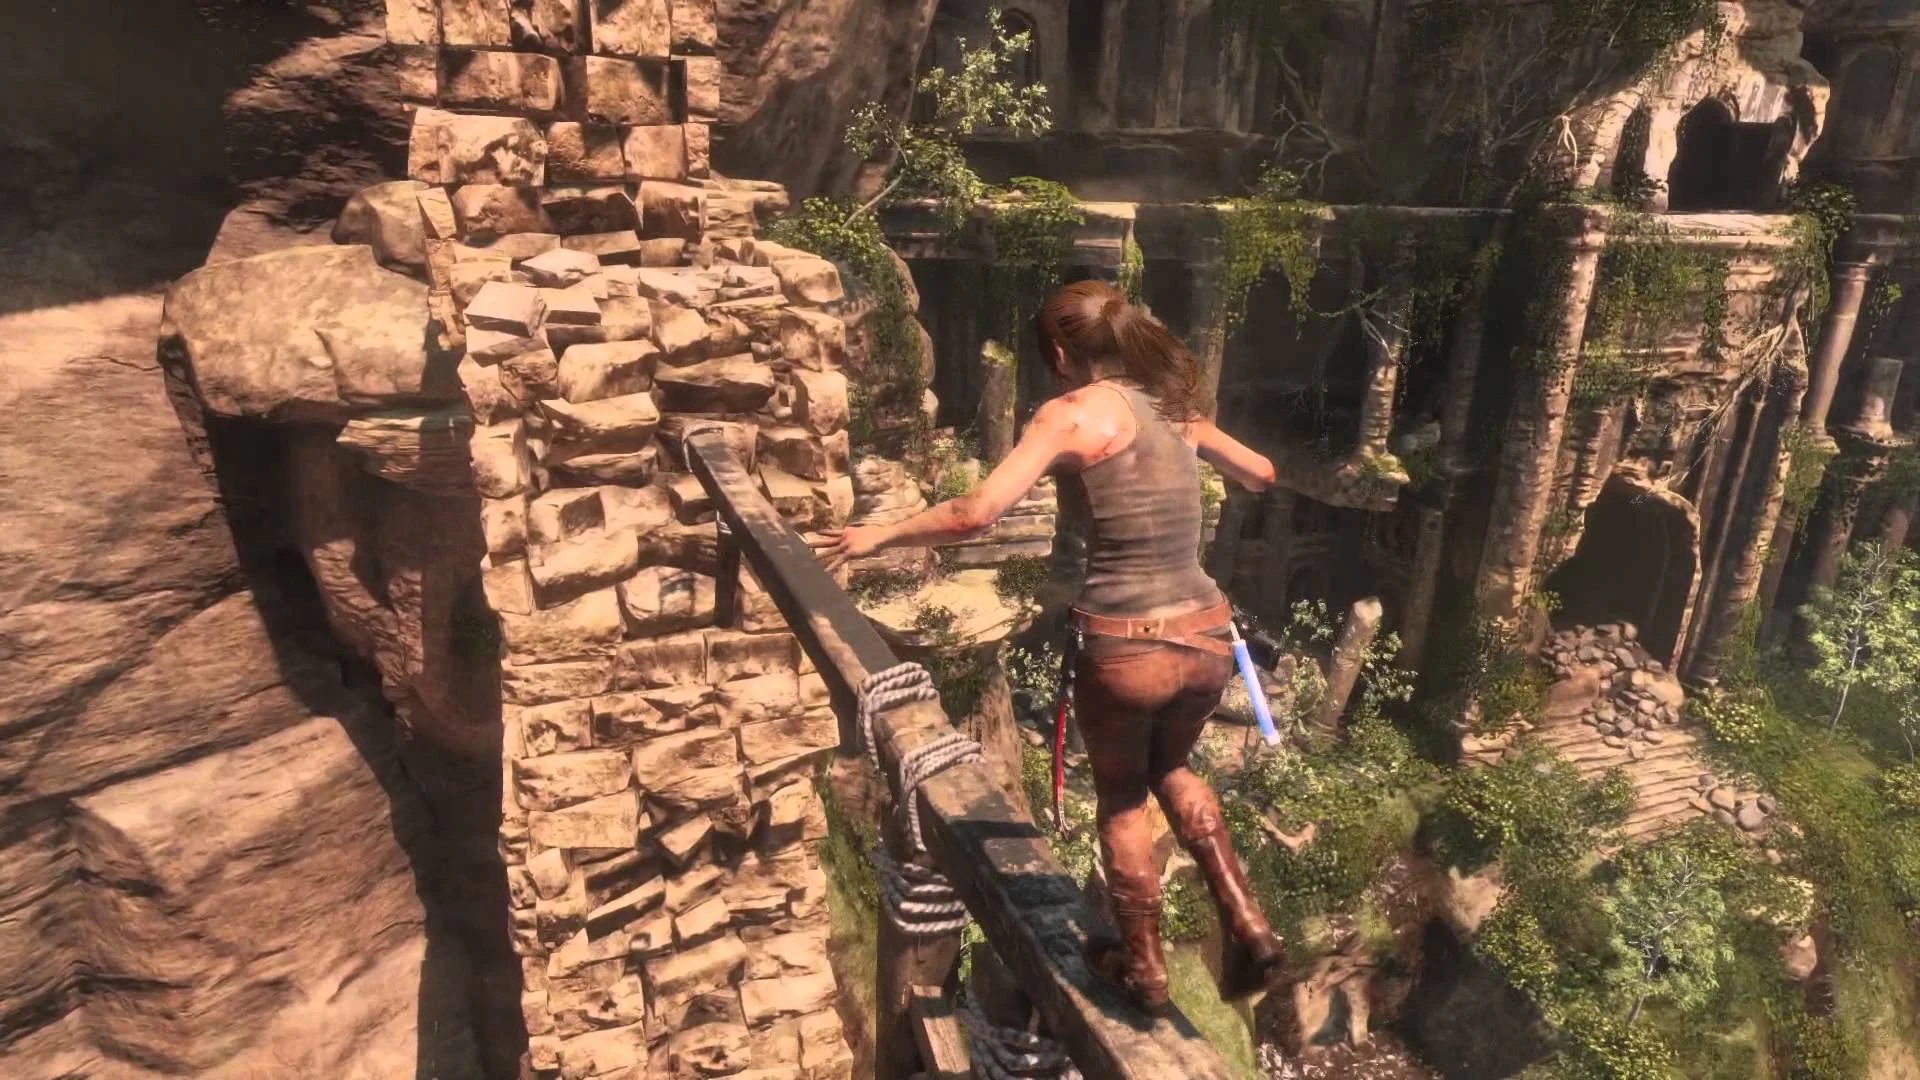
Turn to the left and move along the wall. As you move across the narrow beam, it starts to break down. Try to pick up the pace and when you get to the end of the beam, jump for the square column ahead. Next, jump down to the ledge and then jump down to another ledge. Move around to the far end of this ledge and jump to grab the narrow ledge that runs along the edge of the building. Climb right, jump past the gap, and pull up. Go through the doorway to enter the tomb.
Lara has to squeeze through the passage ahead, and she lights the way with her glowstick. At the dead end, burst through the weak wall.
The Prophet's Tomb[]
Explore the Tomb's Passages[]
Search the room to the right for a container called the gifts of alms. Continue forward and examine the mural in the room to the left. Lastly, turn left to find a document sitting on a shelf.
Grab everything and exit the room. As you walk towards the beam at the end of the hall, you trigger a trap. You don't have to do anything; Lara isn't in reach of the spears. You're taught how to aim your weapon. Use it to destroy the block that holds the trap in place.
Lara pulls herself into the next passage. The floor breaks apart on you when Lara puts her weight on it. She falls into the water below. Get back onto solid ground by climbing onto the little piece of rock. Look out over the room and press the Survival Instincts button. The block holding a platform up will glow. Shoot the block for it to drop the platform. Hop back into the water and go over to
the fallen platform. Use that to climb out of the pit.
In the next passage, Lara steps in a trap. A spike swings at her, so quickly shoot the wooden block that's holding the trap together before Lara gets impaled. Next, smash the button that flashes on the screen to bust free of the trap. The passage floods, so quickly swim towards the end of the chamber. The game teaches you how to swim faster. Wade out of the water and walk towards the misty room.
[]
As you enter the room, look to your left to spot the first burner. This starts a Challenge. The next burner is in an alcove opposite the first one.
To get to the upper levels of the room, you have to raise the water level. Start by swimming over to the crumbling wall to the right and busting through it with your axe. As the water spills in, swim across the pool to the shelves covered with skeletons. Climb up the shelves and around to the right. Pull up onto the jutted out beam and jump forward to grab the wooden platform hanging above the pool. Lara's weight opens the gate to the left, which raises the water level.


Turn around so your back is to the tower and swim along the right wall to the small alcove. Here you will find one lone coin. Then swim diagonally across the pool to the ledge with the seated skeleton. Nearby is a relic.
From the area where you found the relic, move around the pillar to the south of the tower. Climb onto a toppled pillar that slants to the right. You can now see the next two burners.
Move to the top of the fallen pillar and leap over to the ledge ahead. You will find the archivist map for the area sitting next to a corpse.
Now it is time for some more collectible hunting. Start by jumping back down to the fallen pillar and heading to the right, into the area behind the tower. On the ledge to the right of this alcove there is a coin. In the middle of the alcove is a coin cache. There is also a small pile containing two coins on the other ledge.
Move to the other large alcove that's north of the tower. There is another coin cache there and a document sits on a ledge to the left (right if when facing the tower from inside the alcove).
From this spot, look up into the tower to spot a burner and then turn around to find the next burners.
Before climbing the tower, pick up a coin by the tower's base.
To proceed, go back to the south side of the tower. Climb onto the fallen pillar, turn around, jump over to the squat pillar, and from there jump to grab the ledge on the middle level of the tower. Pull up and advance cautiously! As you pass over the crumbling floor, it will break away. Jump to the other side as quickly as you can. You can also shoot that section of floor to expose it, and then jump across. Once you've made it over, turn around and pick up a document sitting in a dark corner to the left of the trap.
Continue out the other side of the tower. Leap over to grab the column, pull up, and turn left. The final burner hangs dead ahead. Jump across to where it was hanging and enter the passage to the right. Advance carefully yet again. A spike pit is just steps away from the doorway. Hop over it and carefully inspect the ground ahead. You can jump over the square button on the floor to avoid the swinging spike trap, or you can trigger it and quickly shoot the two wooden blocks before they reach Lara. It is also possible to shoot the button from the doorway, and then shoot the blocks on the spike trap. The trap cannot reach you from the doorway.
As you enter the next room, look to the left to spot another document.
Now you have to raise the water level again. Jump onto the hanging platform and then onto the ledge on the opposite side of the room. Pick up the two coins and then move to the right. Use your axe to destroy the crumbling wall, which lets in water.
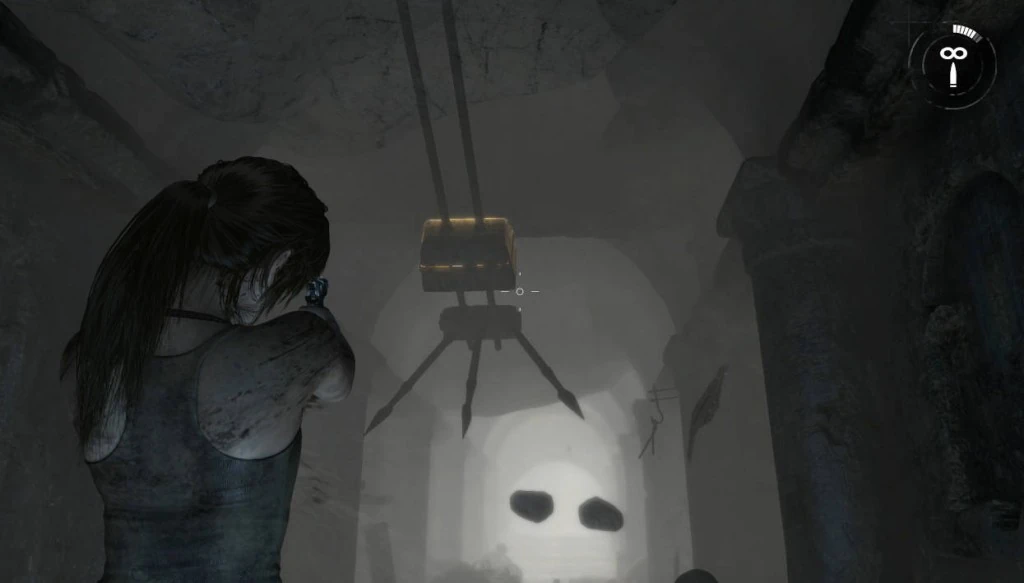
Shoot the small block that holds up the wooden pallet so that it drops down into the water. Jump onto the hanging platform and Lara's weight opens the gate, which lets in a lot of water. The water pushes the pallet across the water to the left. But the platform where Lara's standing sinks below the surface. Swim over to the wooden pallet and climb onto it. Turn to the right and jump to the column with the vertical scuff marks, then scramble up to grab the ledge. If you miss, the platform and gate reset, so swim over to the left corner of the gate, climb up to the ledge and try again.
When you make it to the column, climb up to the handhold and then jump to grab the next column to the right. Climb up and jump to grab the wooden bar supporting the hanging platform.
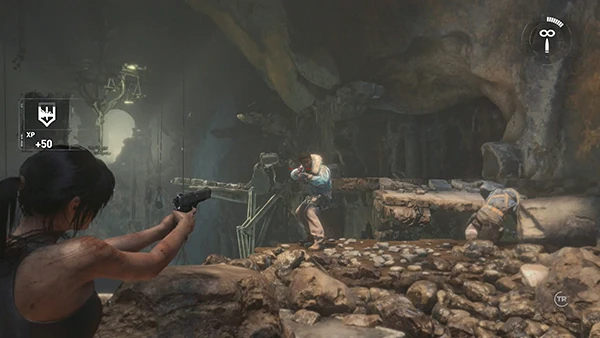
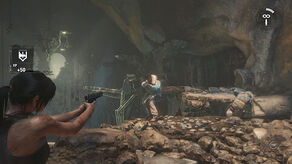
Watch a quick scene and then pull yourself to the top of the cubbies where Lara climbs out of the water. A long scene follows this, as she uncovers the sarcophagus. When things conclude, you are still at the top of the tomb. But, this time Lara is joined by a few soldiers from Trinity.
Stay calm and shoot both nearby men before they can react. Next, run forward and hop across a tiny gap. You are taught how to sprint when you land.
Sprint to the end of the passage and turn left. Run and jump to the hanging bar, and use that to cross to the other side of the room. Grab a ledge, pull up, and return to speed. The rest of the route is about timing, but it's obvious where you need to go. Keep sprinting, don't fall, and make timed leaps over the gaps.
| ←Mountain Peak Walkthrough | The Prophet's Tomb Walkthrough | Siberian Wilderness Walkthrough→ |
Rise of the Tomb Raider Walkthroughs
| |
|---|---|
|
Mountain Peak · The Prophet's Tomb · Siberian Wilderness · Glacial Cavern · Soviet Installation · Abandoned Mines · Geothermal Valley (First Visit) · The Acropolis · Geothermal Valley (Second Visit) · Flooded Archives · Geothermal Valley (Third Visit) · Soviet Installation (Copper Mill Bridge) · Research Base · The Orrery · Path of the Deathless · The Lost City · The Chamber of Souls |
|